
TL;DR
Let's Do It Together!
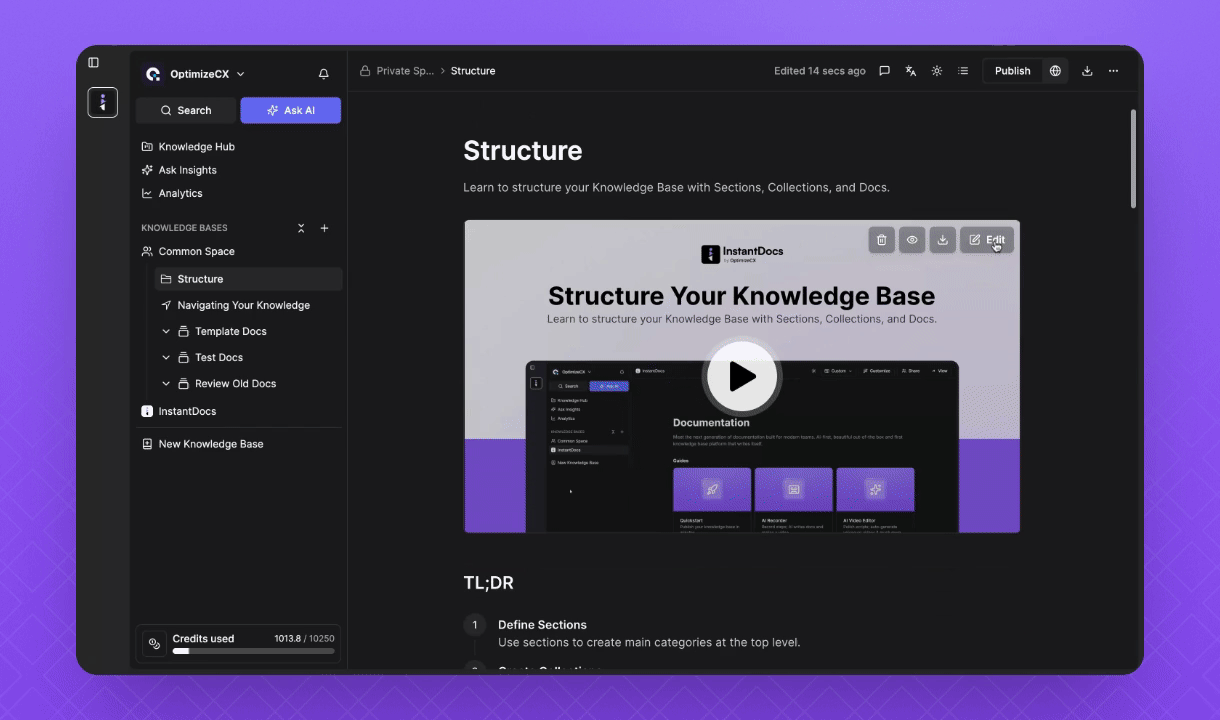
1. Select the Edit Button
In your video window, click the Edit button.
Then find the place where you would like to highlight.
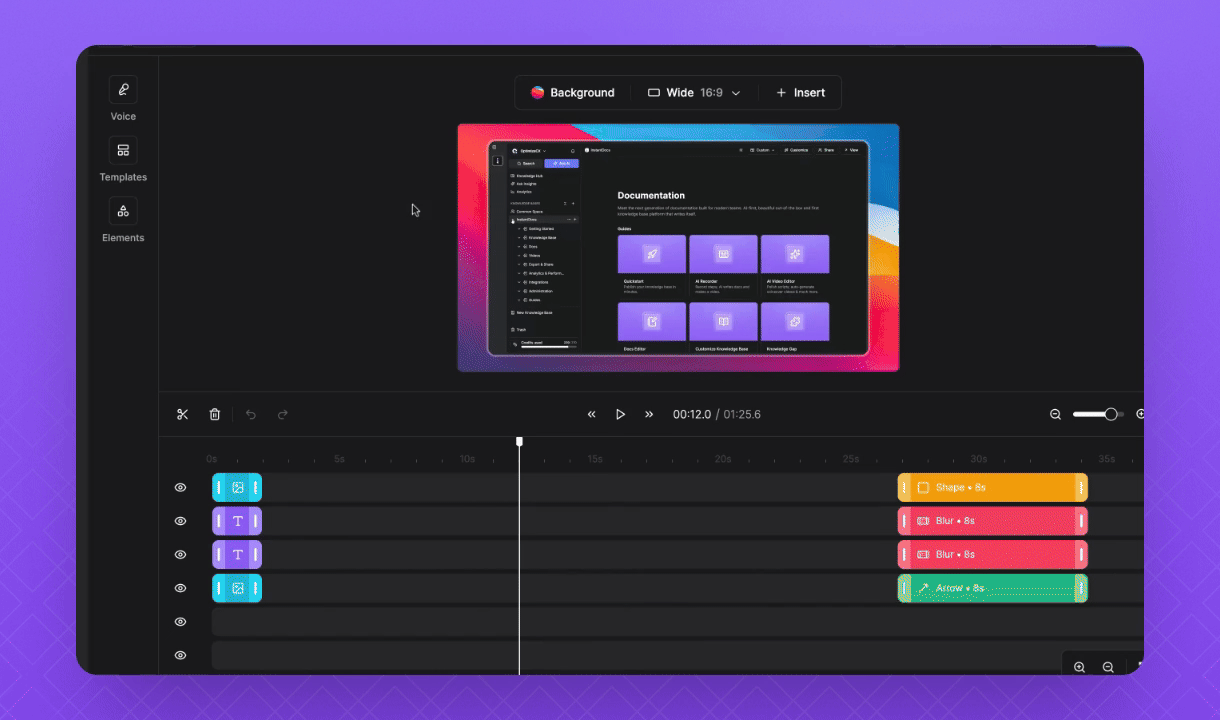
2. Create a Zoom Effect
Press the Insert button and select Zoom.
This will create a zoom cell.
Click on the zoom cell to adjust the scale.
Select Zoom mode and click Manual to edit your zoom further.
Adjust the position as needed.
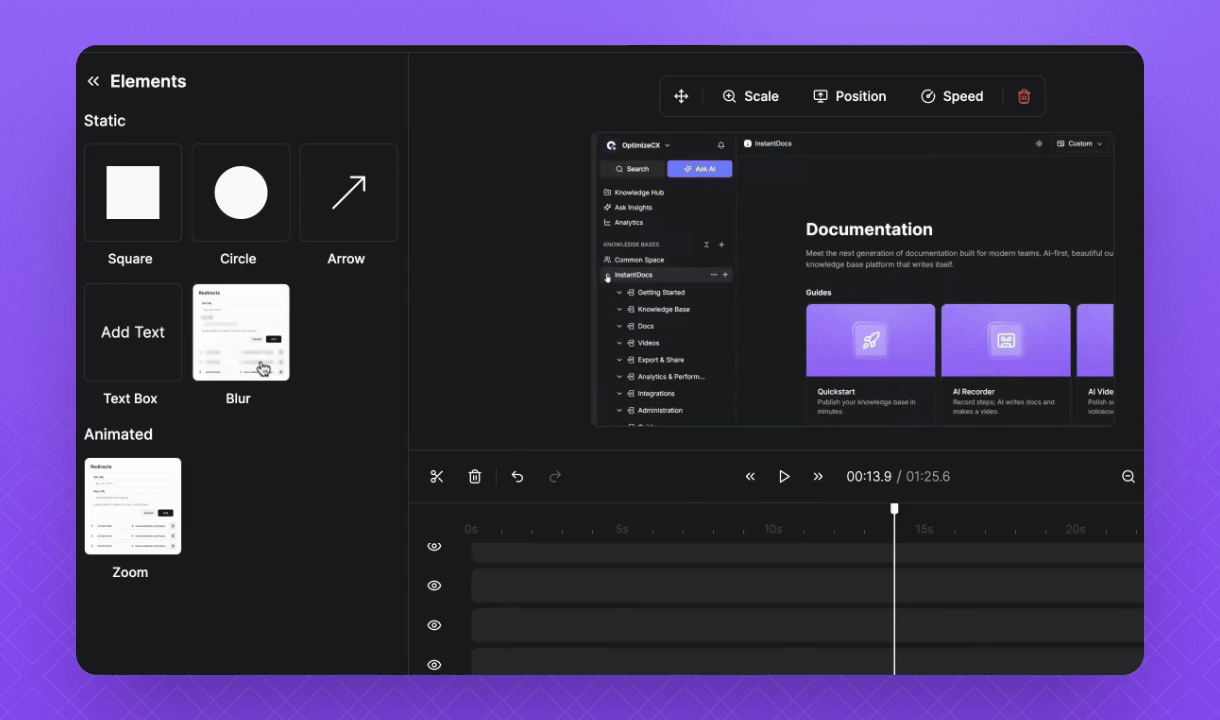
3. Add Blur Effects
Select Blur.
Click and drag to move your blur element around.
Adjust the corner radius and blur amount.
Add more blurs wherever needed.
Edit all blur elements in the same way.
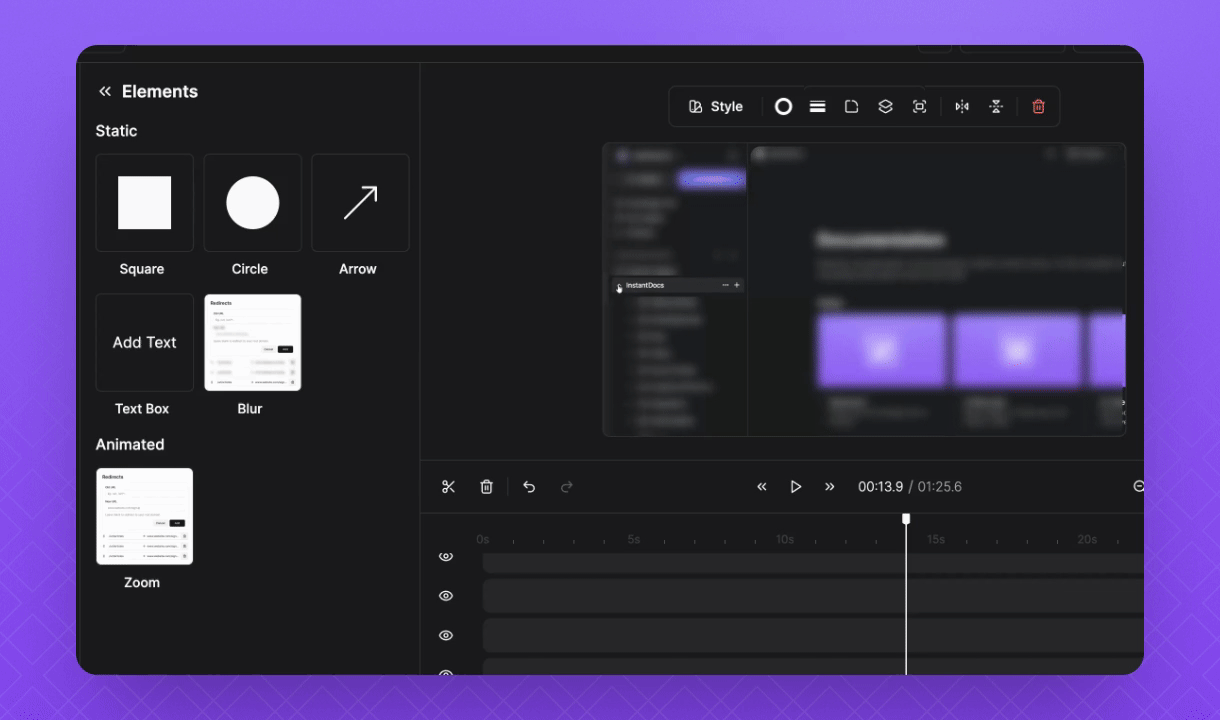
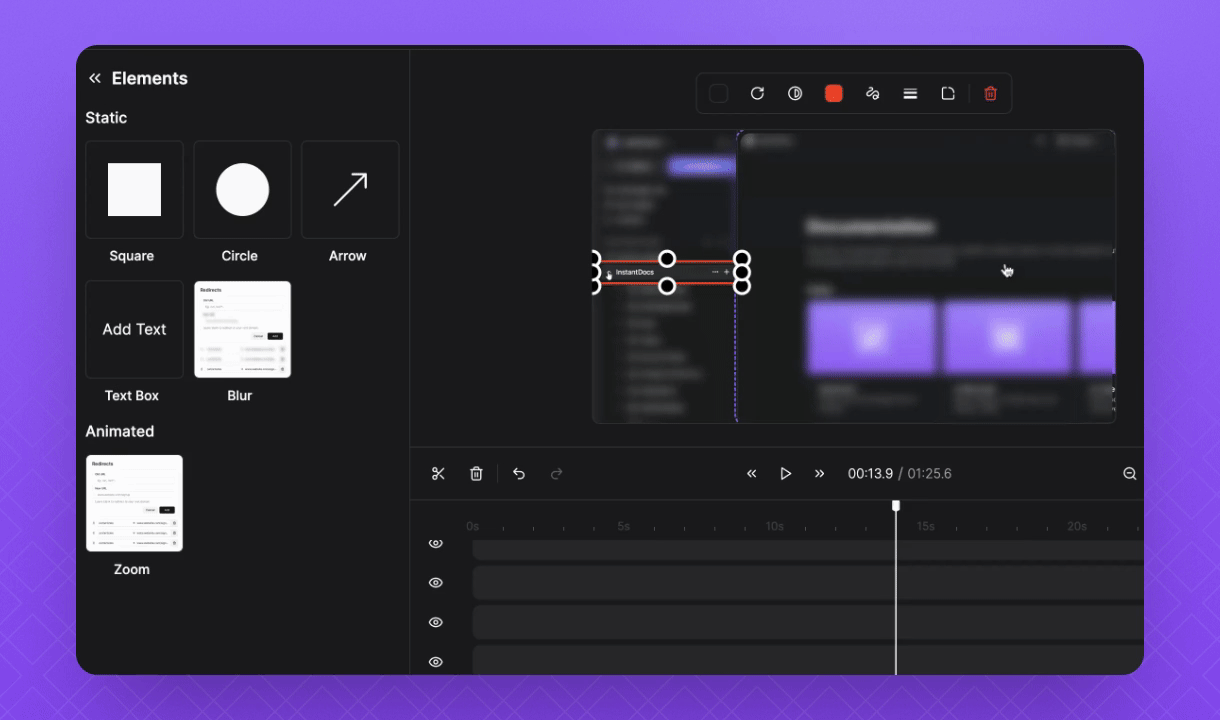
4. Highlight with Shapes
To highlight the moment further, select a shape.
Click and drag to move and adjust the square using the adjusting buttons.
Click Rotate to rotate the square.
Edit its opacity, color, stroke style, border width, and corner radius.
Ensure your shape lines up well with the key moment.
5. Add an Arrow
Select Arrow to point out the key moment.
Click and drag the middle button to move it around the screen.
Use the outside buttons to adjust the size.
Adjust the arrow's color, border width, arrow head, arrow tail, and opacity.
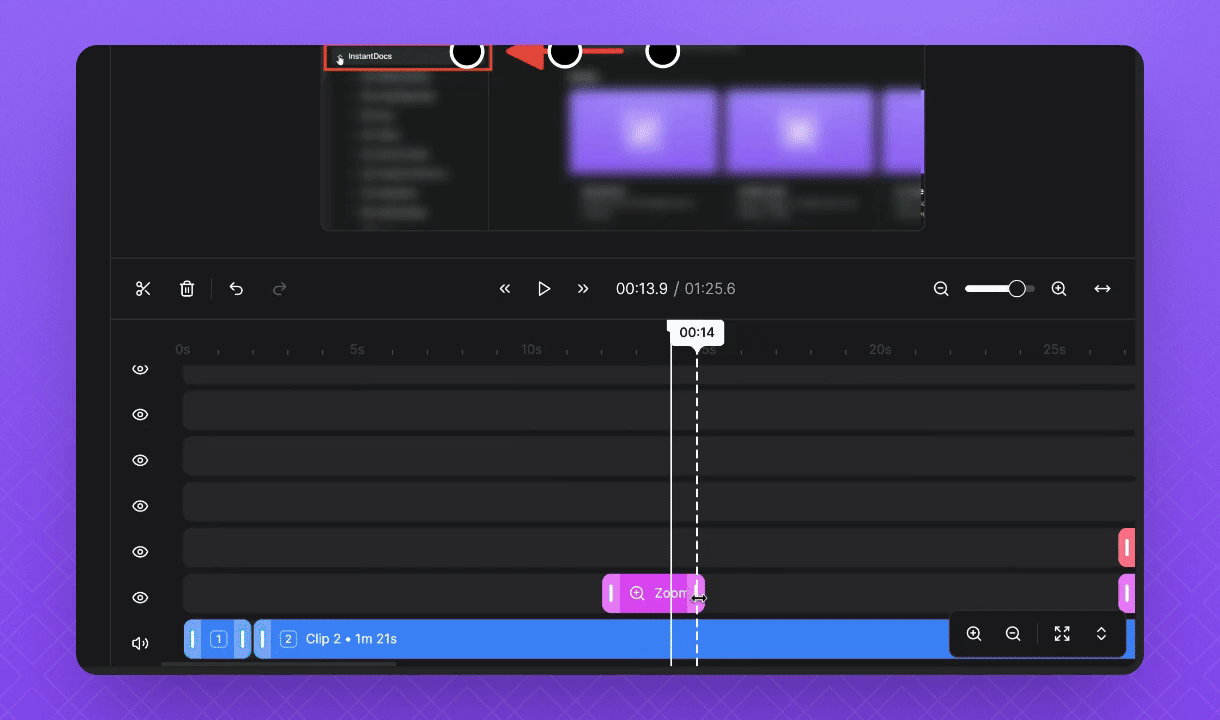
6. Adjust Element Durations
Click and drag each cell to adjust their durations.
To match durations, simply click and drag, and it will automatically align with the zoom end.
Repeat this process for all of your elements.
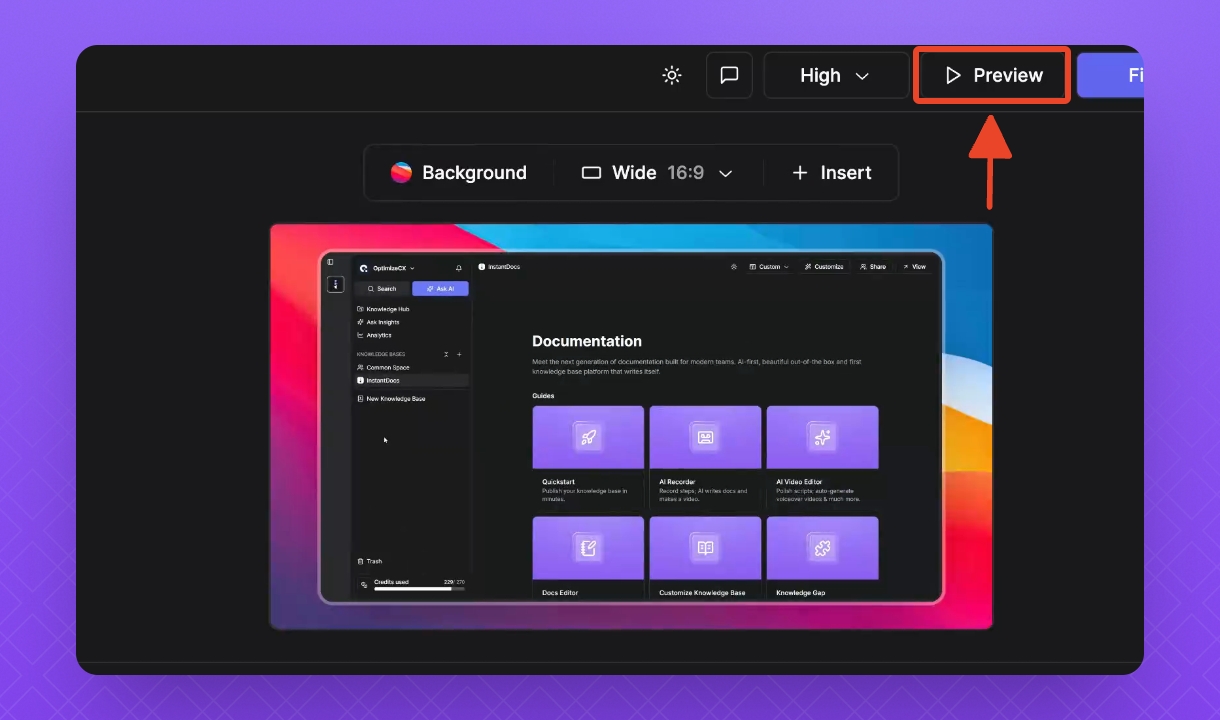
7 Preview Your Highlights
Click to preview how well you highlighted the key moments.
Your highlights should now be visible in the preview.
FAQ
My element does not show in the preview?
Simply click and drag the element cell outside of the zoom area in the video editor timeline, and edit the size. Then move back to the desired placement.