TL;DR
Select workspace, language, and microphone in the recorder app.
Let's Do It Together!
Step 1: Set Up the Recorder
Open your recorder app.
Click the Workspace button to select your workspace.
Select the Knowledge Base dropdown to choose where to record your videos.
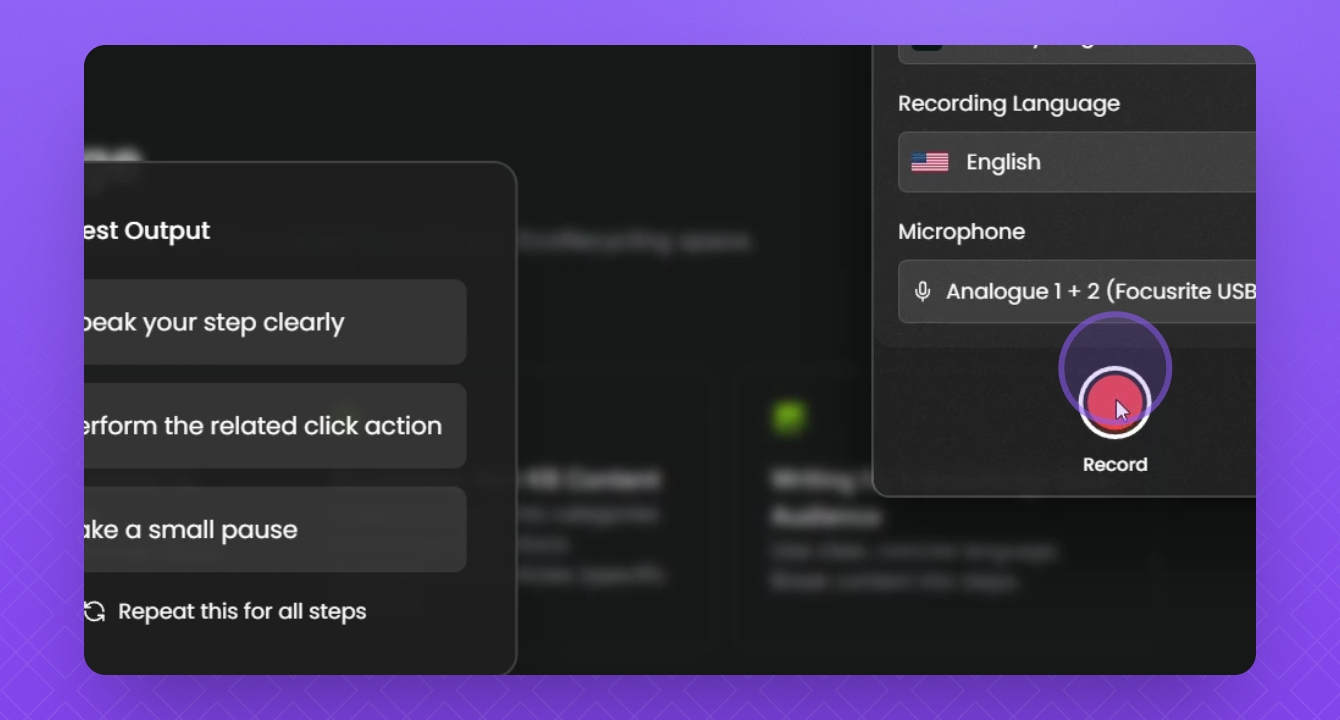
Choose your recording language from the dropdown.
Select the correct microphone from the Microphone dropdown.
Ensure all settings are correctly configured before starting the recording.
Step 2: Record Your Video
Click the Record button.
Select the tab you want to record from and hit Share.
Use the countdown timer to prepare before recording starts.
Your recording will start after the countdown.
Step 3: Manage Your Recording
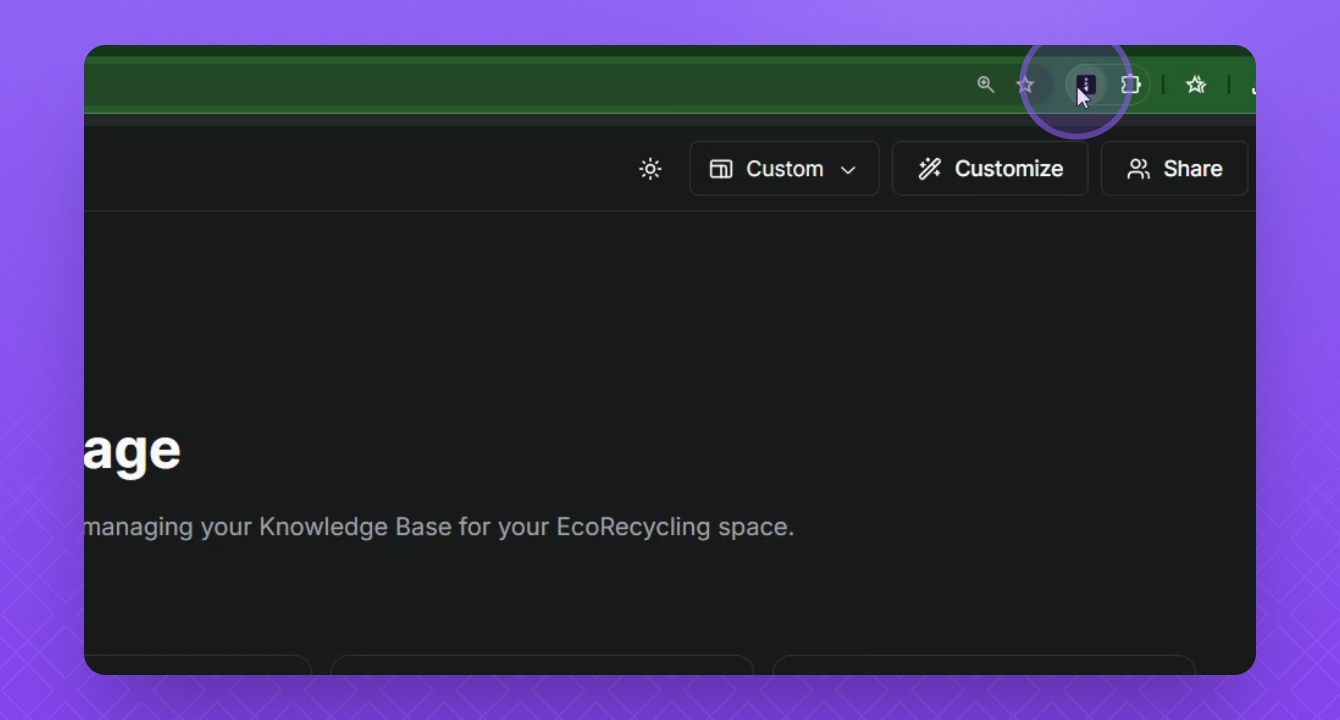
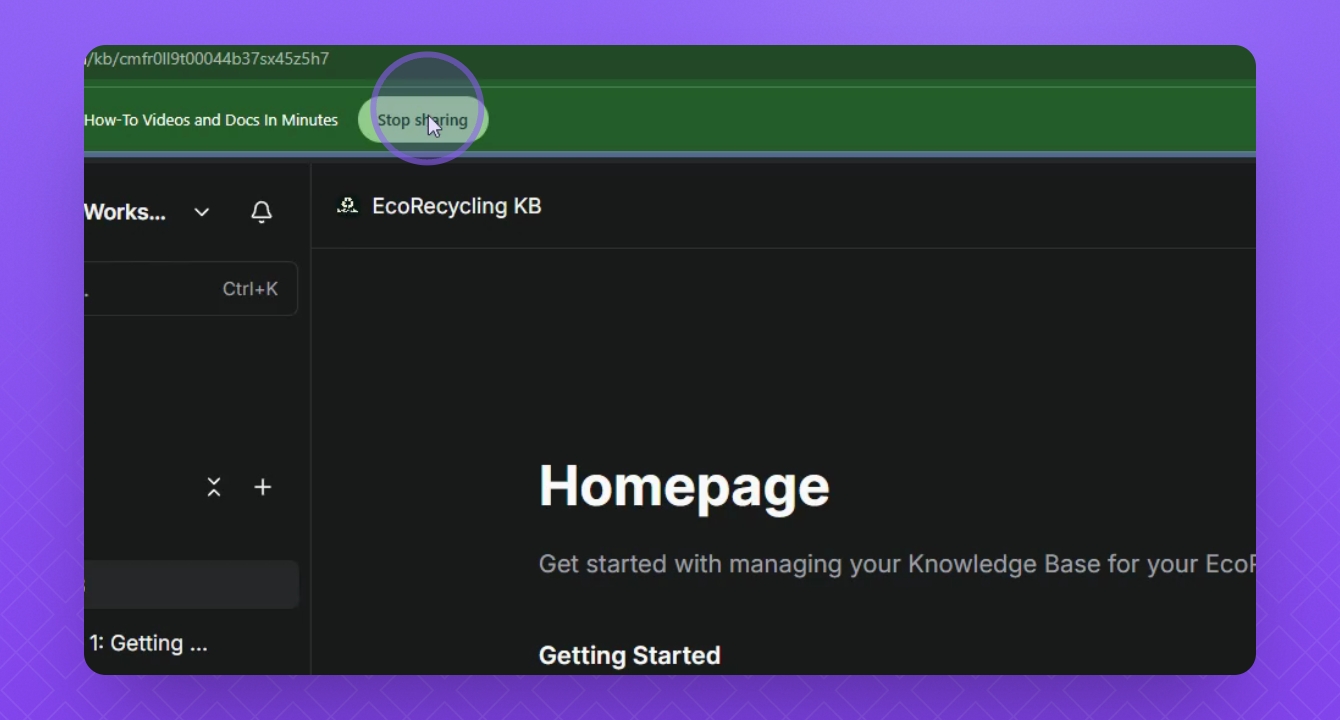
Click the Stop Sharing button or the extension to stop the recording.
Click the Bin icon to discard the recording or click Finish to upload it.
To continue after stopping, click Resume and then Finish to complete the upload.
Your video doc will begin to generate after finishing the upload.
Step 4: Edit Your Video and Document
Once generated, edit your document as needed.
Hover over the video window and click the Edit button.
Make sure all changes are correct, then click Finish to save.
Your edits will be saved, preparing for publishing.

Step 5: Publish Your Document
Navigate to the correct section in your knowledge base.
Drag your article to the appropriate section and watch for the highlighted line.
Click the Publish button in the top right corner and select Publish.
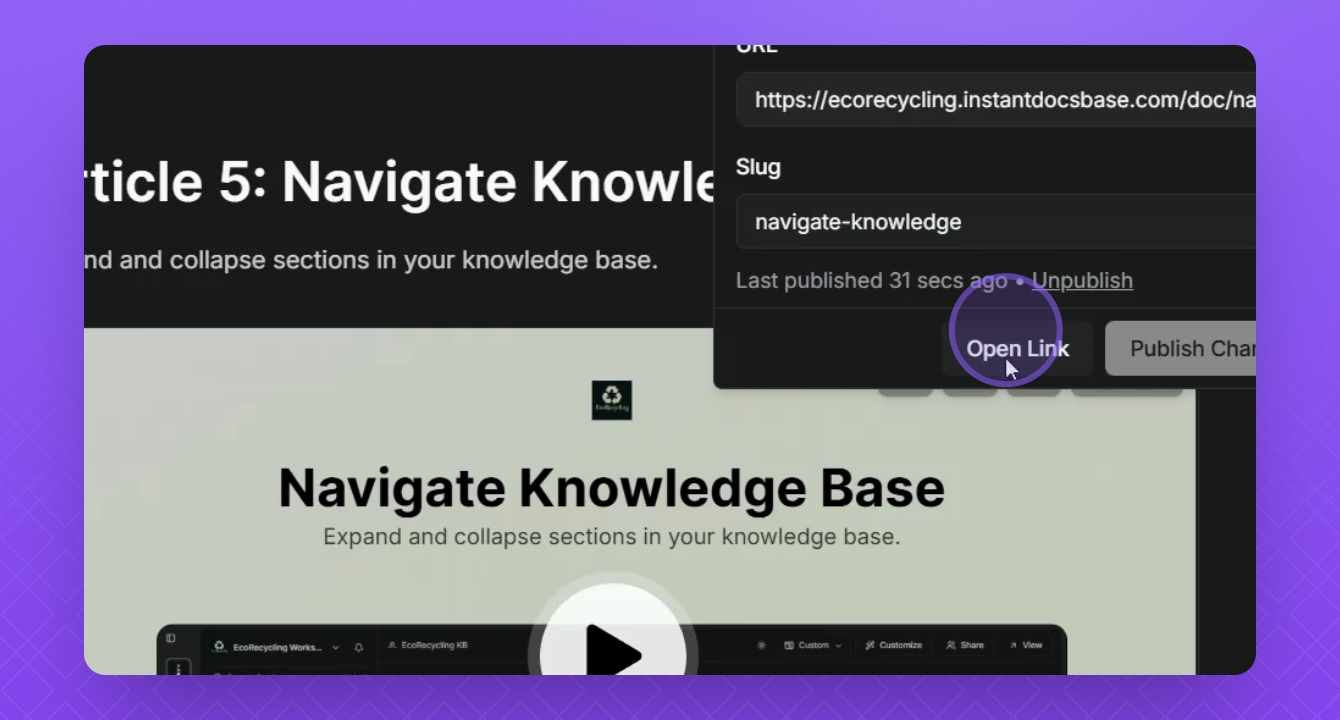
Wait for the article to finish publishing and update the slug if needed.
Click the check mark to apply your custom slug.
Your document is now published and ready to be viewed.
Step 6: Preview Your Document
Click the Open Link button to preview your document.