
TL;DR
Let's Do It Together!
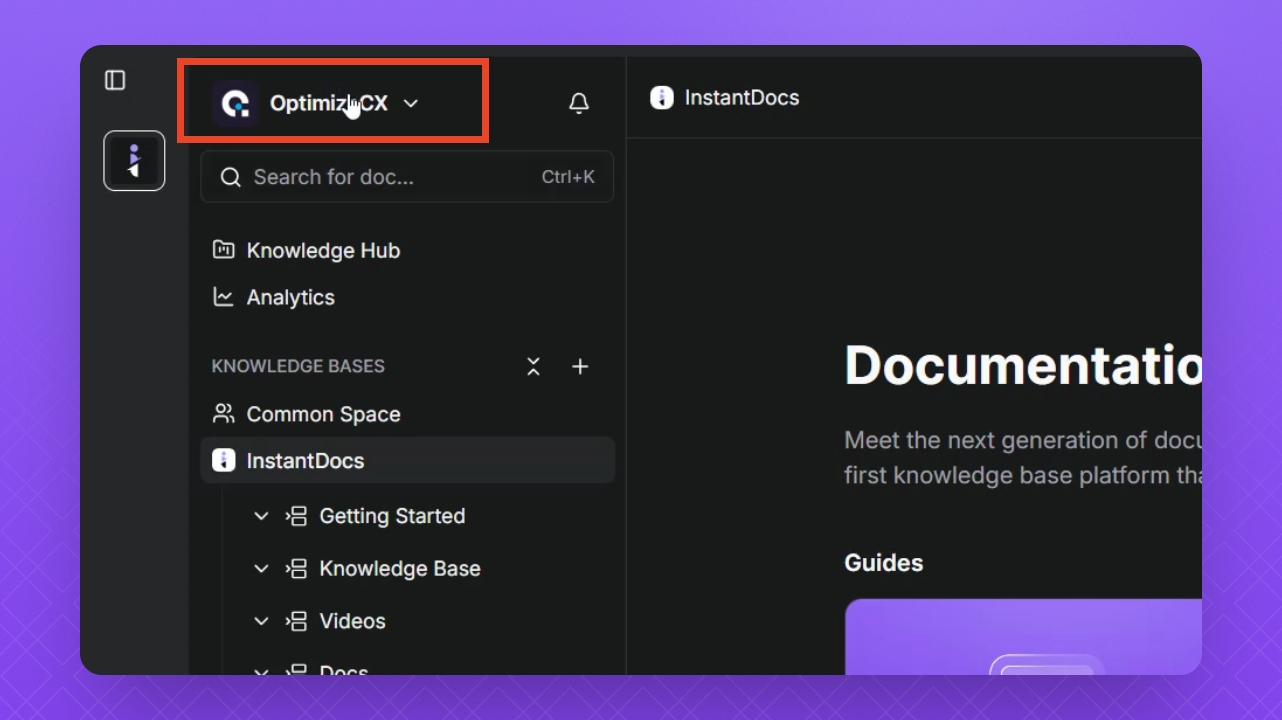
Step 1: Access Settings
Click the Workspace name at the top left corner.
Select Settings.
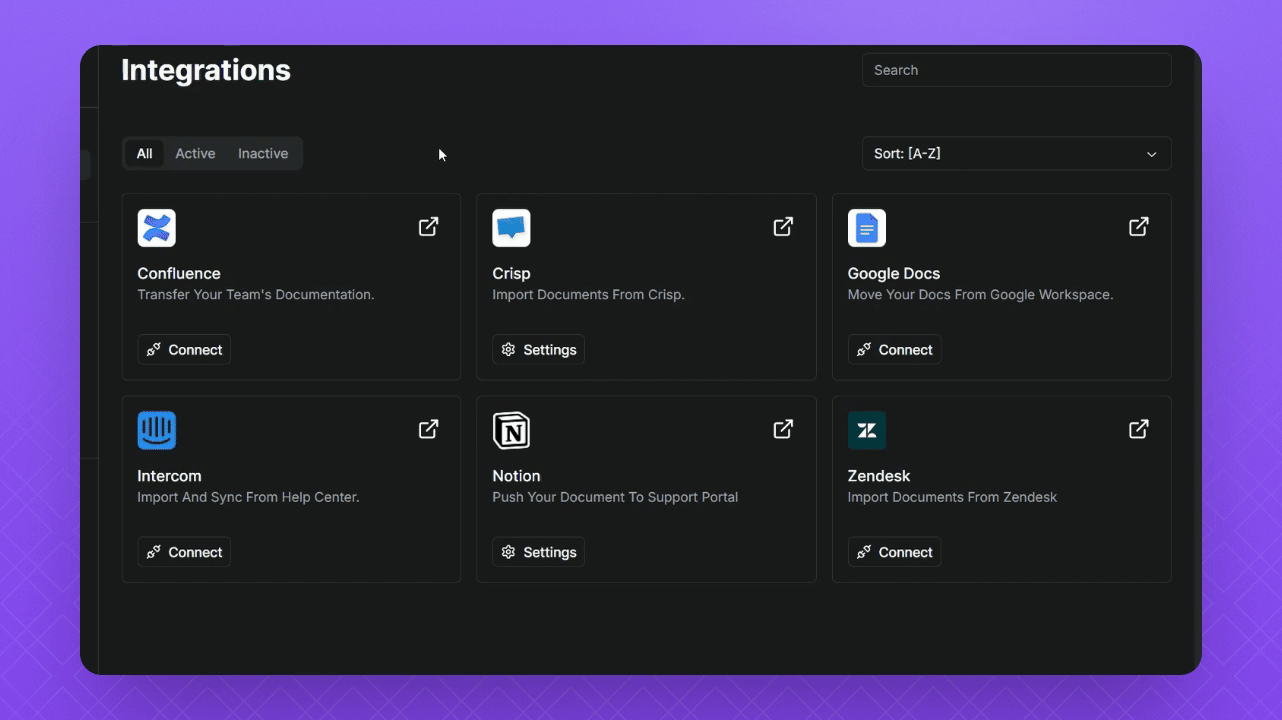
Step 2: Connect Zendesk
Select Integrations from the settings.
Click the Connect button next to Zendesk.
Click Next.
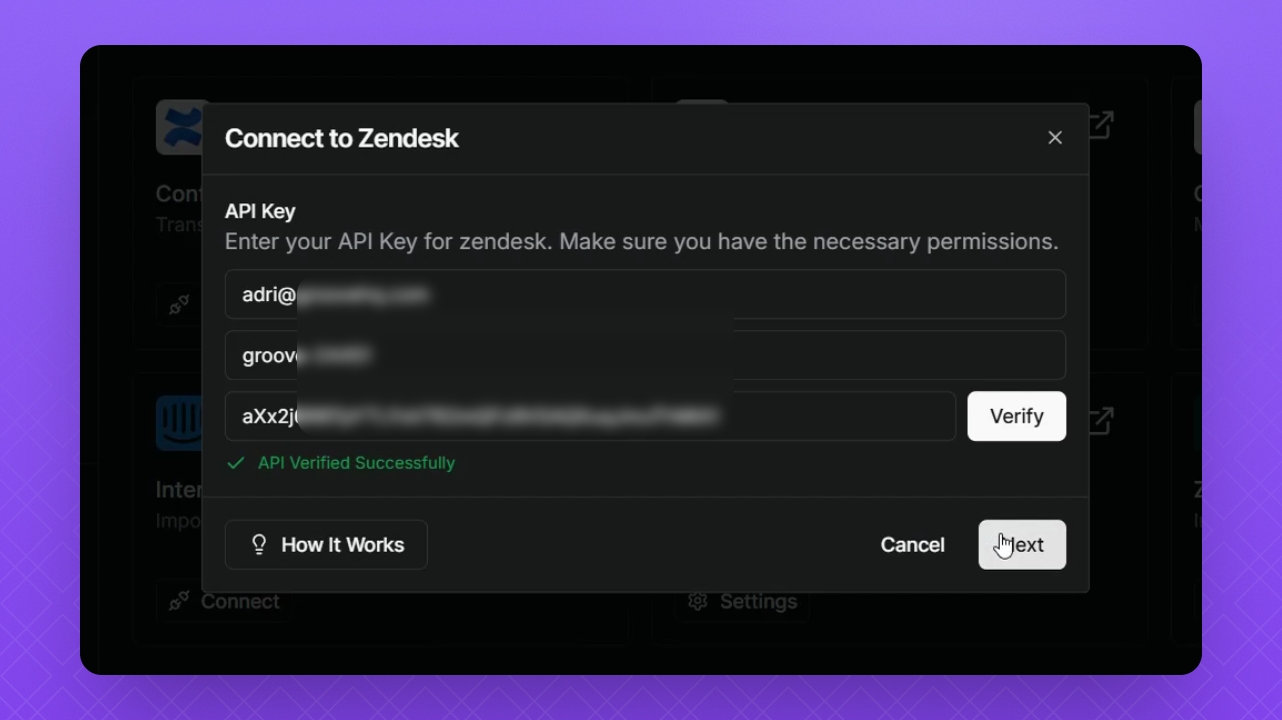
Step 3: Enter API Information
Add your Zendesk API information into the fields.
To find your API code, click the Gear icon on the home page.
Select Apps and Integrations, then API Tokens.
Click Add API Token and follow the prompts.
Copy your API code immediately after it is generated.
Ensure to keep your API code in a safe place.

Step 4: Verify API
Click the Verify button after entering your API information.
Look for the green check mark indicating success.
Click Next.
Your Zendesk integration is now connected successfully.
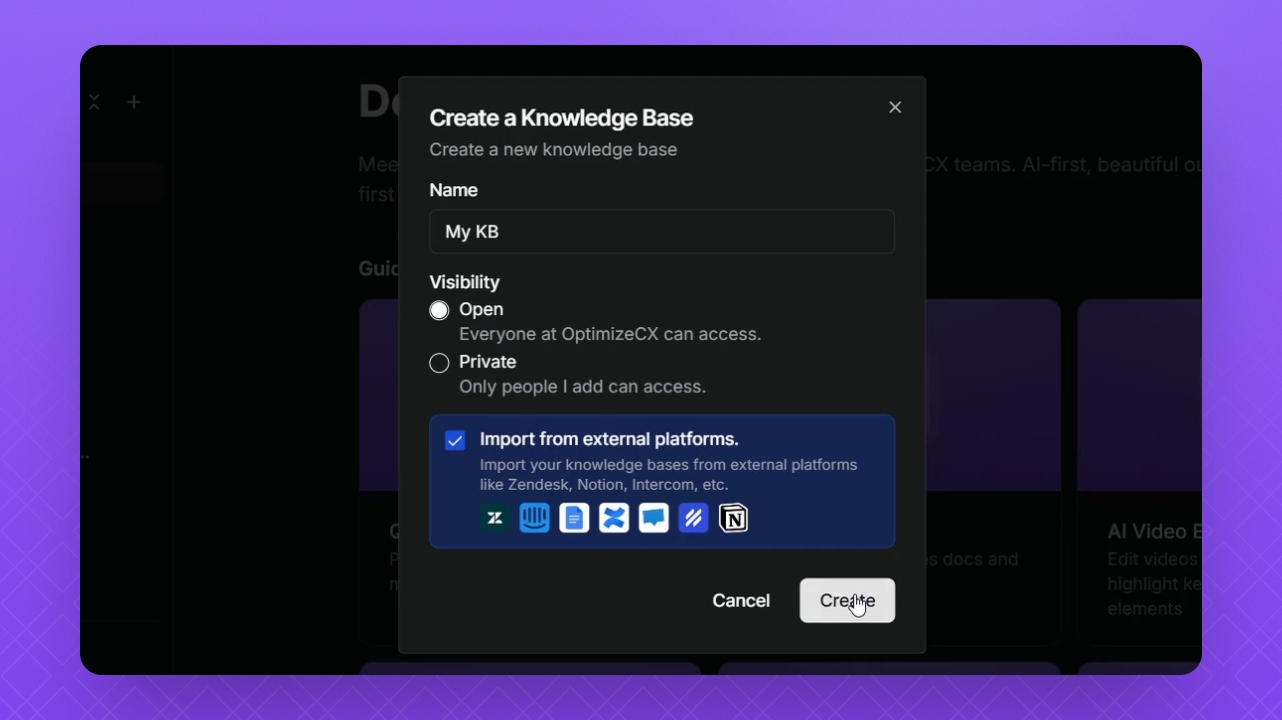
Step 5: Import Knowledge Base
Navigate back to the Knowledge Base area by clicking the Back button.
Hover over the Knowledge Bases section and click the plus icon.
Alternatively, select New Knowledge Base.
Give your Knowledge Base a name and select your Visibility option.
Click Import and then Create.
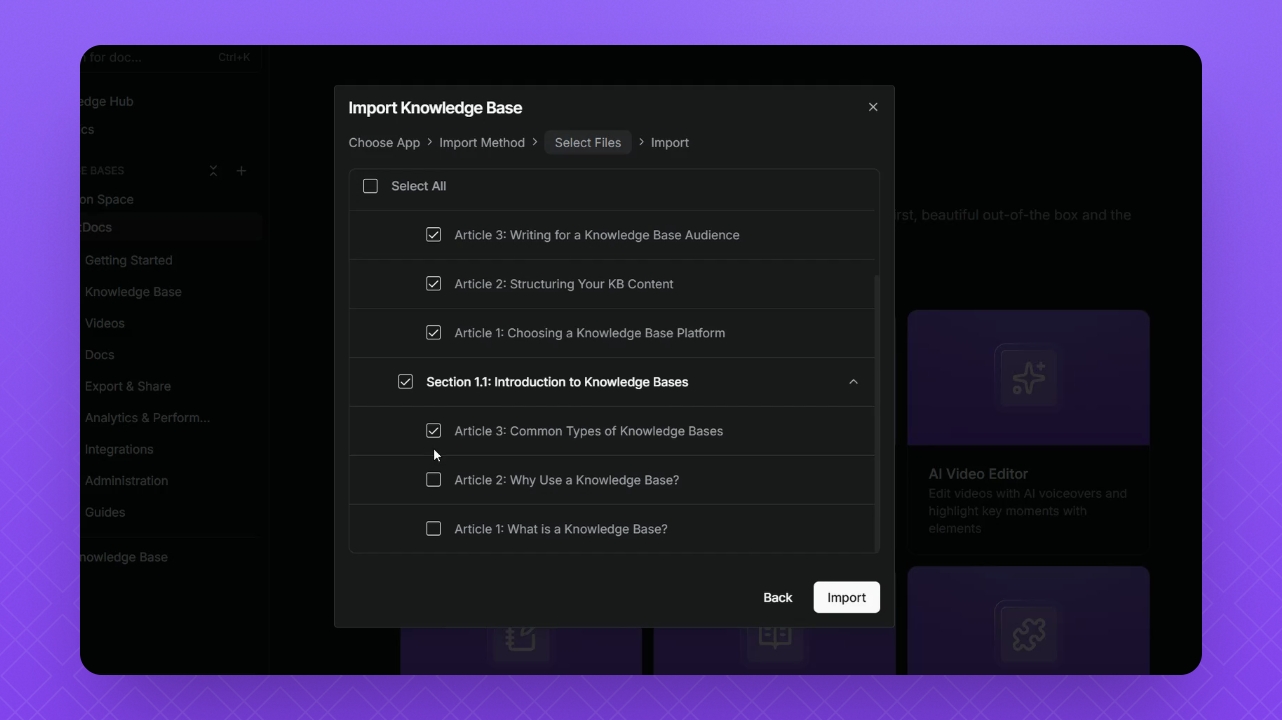
Step 6: Select Content to Import
Select Zendesk as the source to import from.
Click Next.
Check the content you want to import using the dropdown field.
Click the Import button.
Your Knowledge Base content from Zendesk will be imported into Instant Docs.
Step 7: Verify Import Completion
Expand your new Knowledge Base to see the imported content.
All your content has been migrated successfully and is available for access.
