
TL;DR
Let's Do It Together!
Step 1: Update Workspace Logo
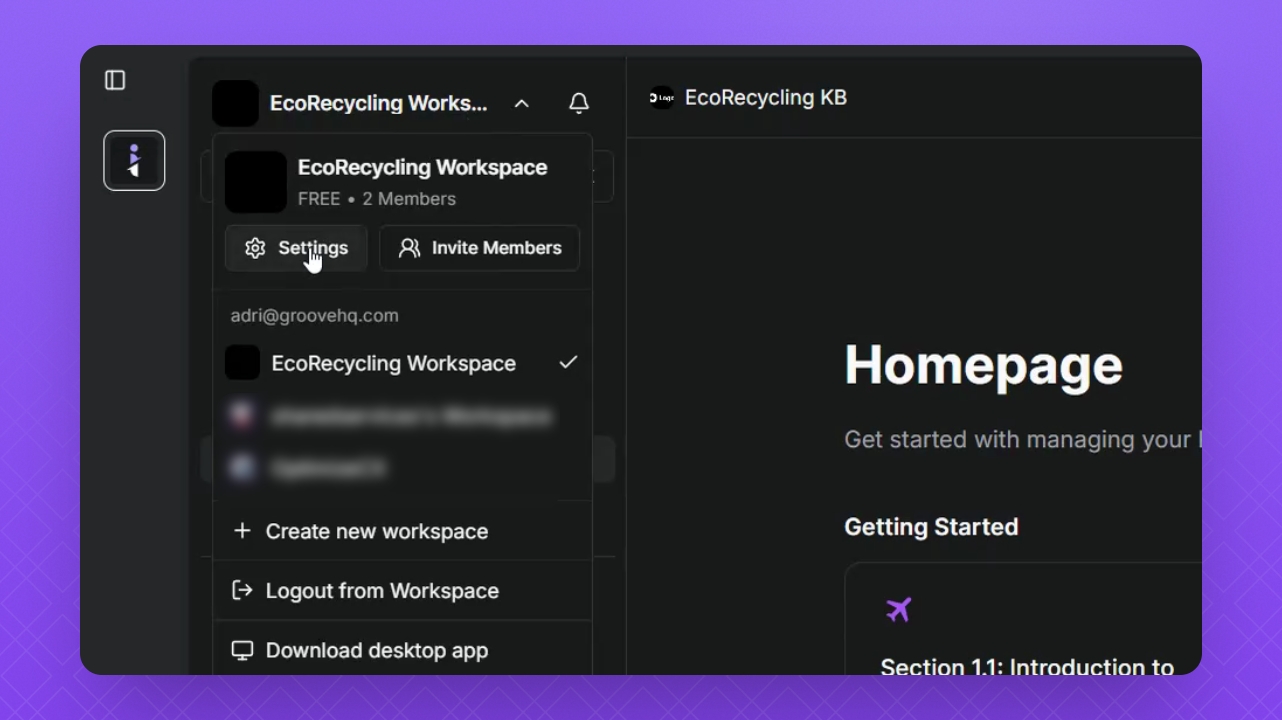
Click the Workspace button in the top left corner.
Select Settings.
Select Workspace.
Click Workspace Logo and upload your logo.
Click Back to save your changes.
Step 2: Update Public Logos
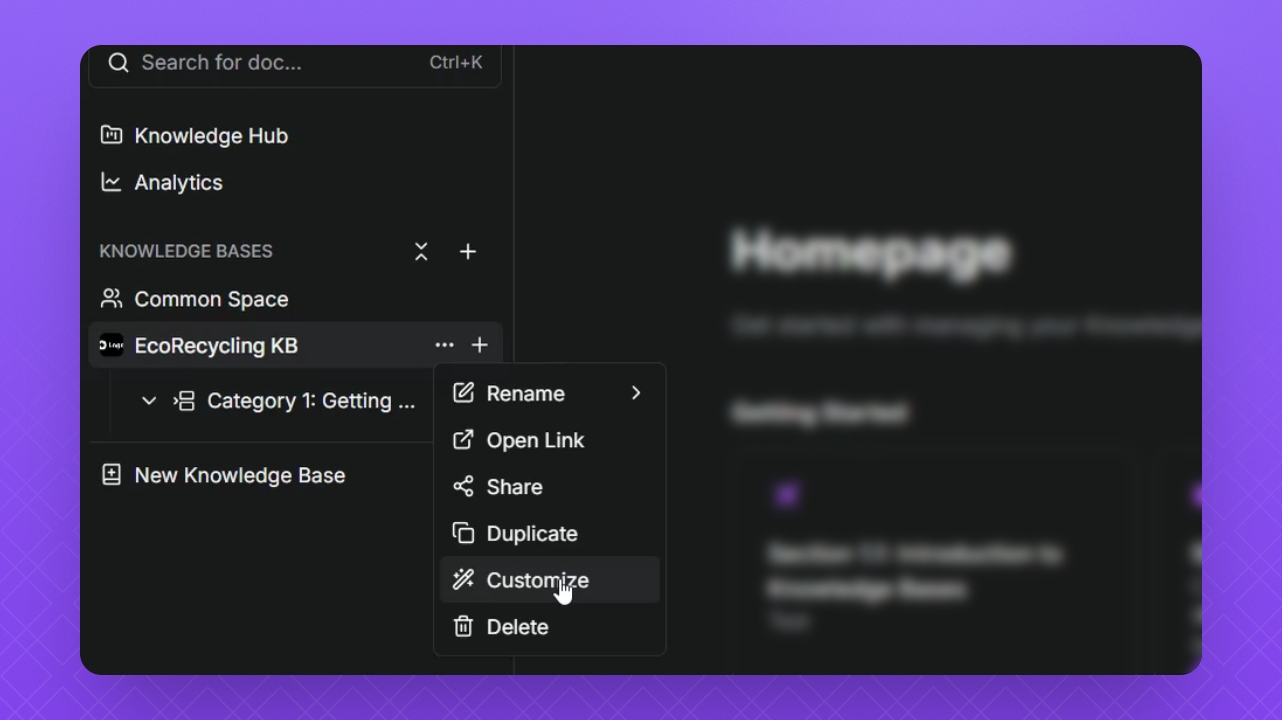
Hover over your Knowledge Base name.
Click the three dots, then select Customize.
Click SEO.
Scroll down to Favicon images and click the Upload buttons to upload your logos.
Match the specs for best results and click Save.
Step 3: Update Theme and Styling
Navigate to Theme and Styling.
Click the Logo button and upload your logo.
Change the logo background if needed.
Add a logo descriptor in the text field.
Adjust logo size and add a website URL if desired.

Step 4: Change Theme Mode
Select Light Mode from the dropdown.
Observe preview changes in real time in the right-side window.
Select Dark Mode to see changes reflect.
Choose User Preference for mode toggling.
Step 5: Update Brand Colors
Scroll to Brand Colors.
Select color from the Brand Color dropdown.
Adjust Text color for readability on brand elements.
Change branded text colors as needed using the color wheel.
Click outside the window and save your changes.
