How to migrate your knowledge base from Groove to InstantDocs:
Step-by-step migration
Step 1: Initiate Migration
Open your Groove account to find a yellow banner.
Click Initiate Migration to start the process.
You will be taken to the migration page in InstantDocs.
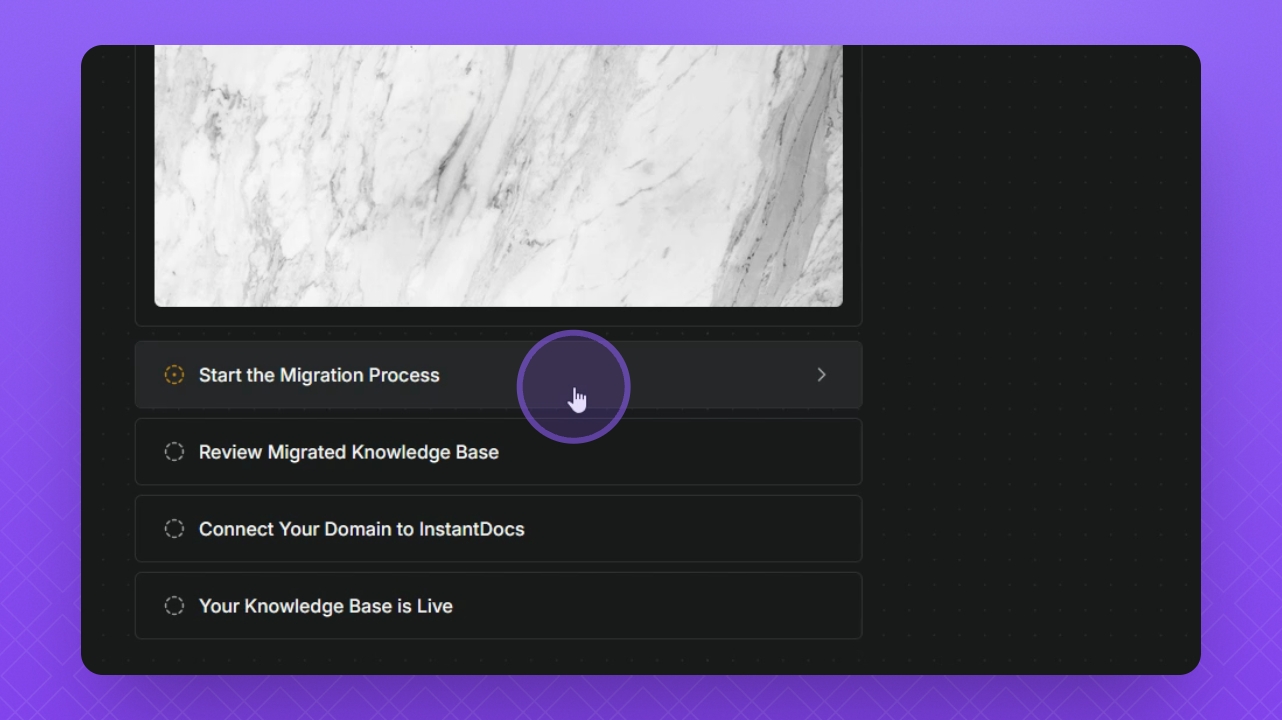
Step 2: Start Migration
Click Start Migration to see your knowledge bases.
Select the KB you want to migrate and click Continue.
Confirm your selection by clicking the Confirm button.
Your knowledge base begins importing, and you can monitor the progress.
Step 3: Complete the Migration
Wait for the migration to finish; it may take a few minutes.
You will receive an email notification once it's complete.
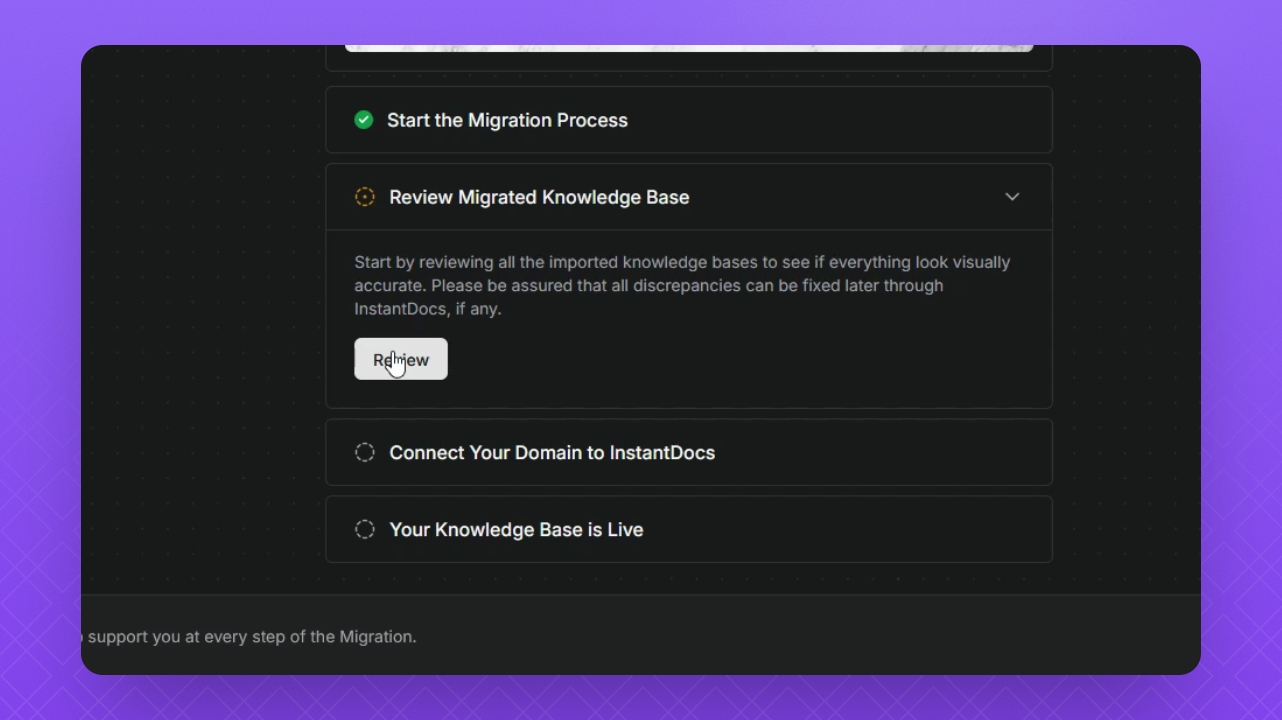
After the migration is completed, review your migrated content.
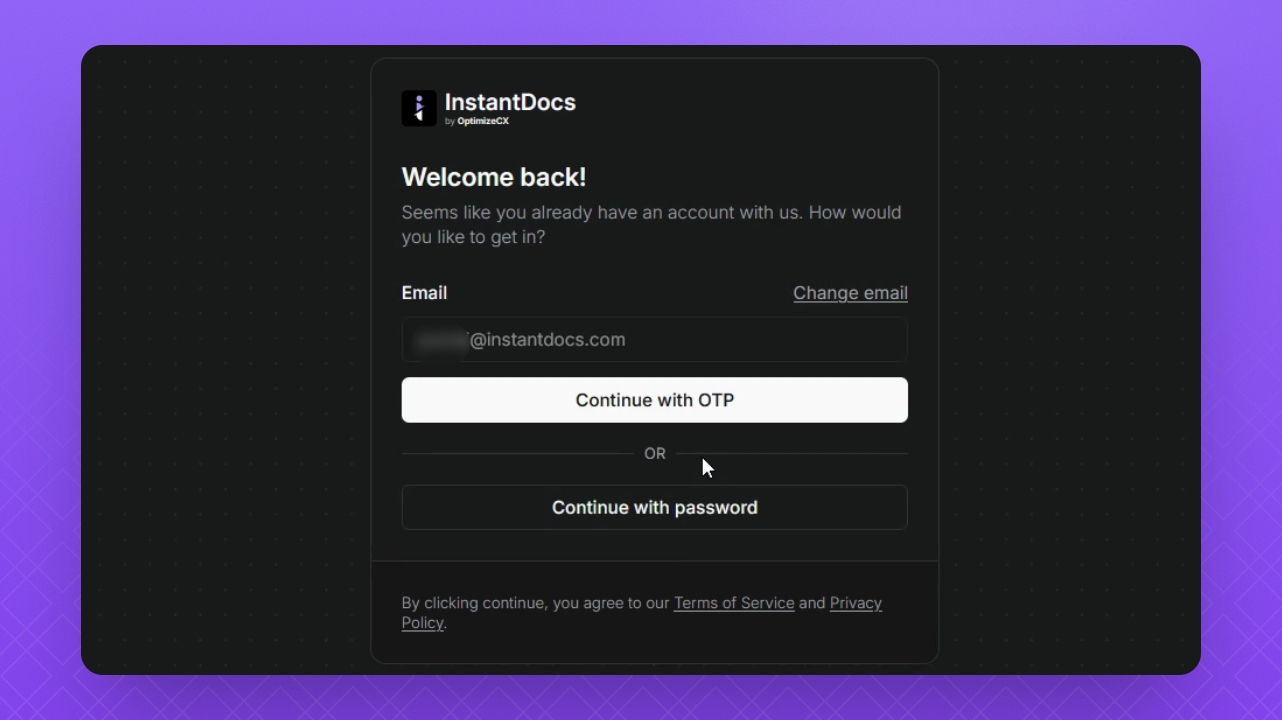
Step 4: Log into InstantDocs
Click the Review Migrated button and select Review.
Log in to your InstantDocs account.
Enter your email and click Continue.
For your first login use the OTP option.
Click open on the workspace to access your imported KBs.
Step 5: Review Your Knowledge Base
Check your migrated knowledge base for any adjustments.
Look for layout or color inconsistencies and formatting issues.
Make necessary edits to ensure everything looks good.
Step 6: Connect Your Domain
There are two ways to connect your Groove Knowledge Base subdomains to InstantDocs:
With a Custom Domain.
With a Groove Subdomain (i.e. without a custom domain)
When you initiate your migration, everything will already be set up for your account, you won’t need to choose between a Custom Domain or a Groove Subdomain. The migration link is customized for your setup, so all the necessary steps will automatically appear based on your existing configuration.
If you’re migrating with a Custom Domain, you’ll see the “Connect” button, which allows you to verify your custom domains for your Knowledge Bases.
If you’re migrating with a Groove Subdomain, the “Connect” option will not be visible, as your Groove Subdomain Knowledge Base will automatically be imported and linked to your InstantDocs account.
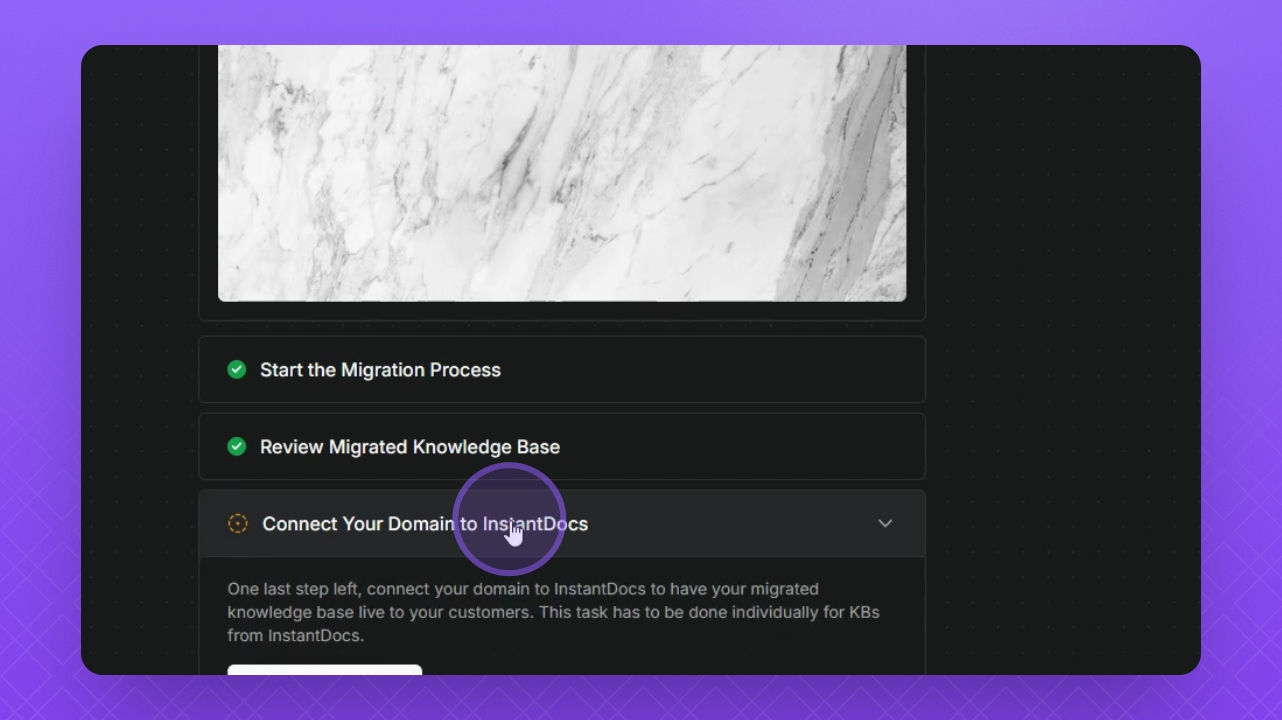
Step 6.1: Connect Your Custom Domain
Click the drop down and select Connect Domain.
Select the Connect button for your Groove knowledge base. This will redirect you to the InstantDocs custom domain settings for that knowledge base.
Add your custom domain in the provided field and select Add.
InstantDocs will attempt to verify your custom domain.
Verify your Custom Domain in InstantDocs
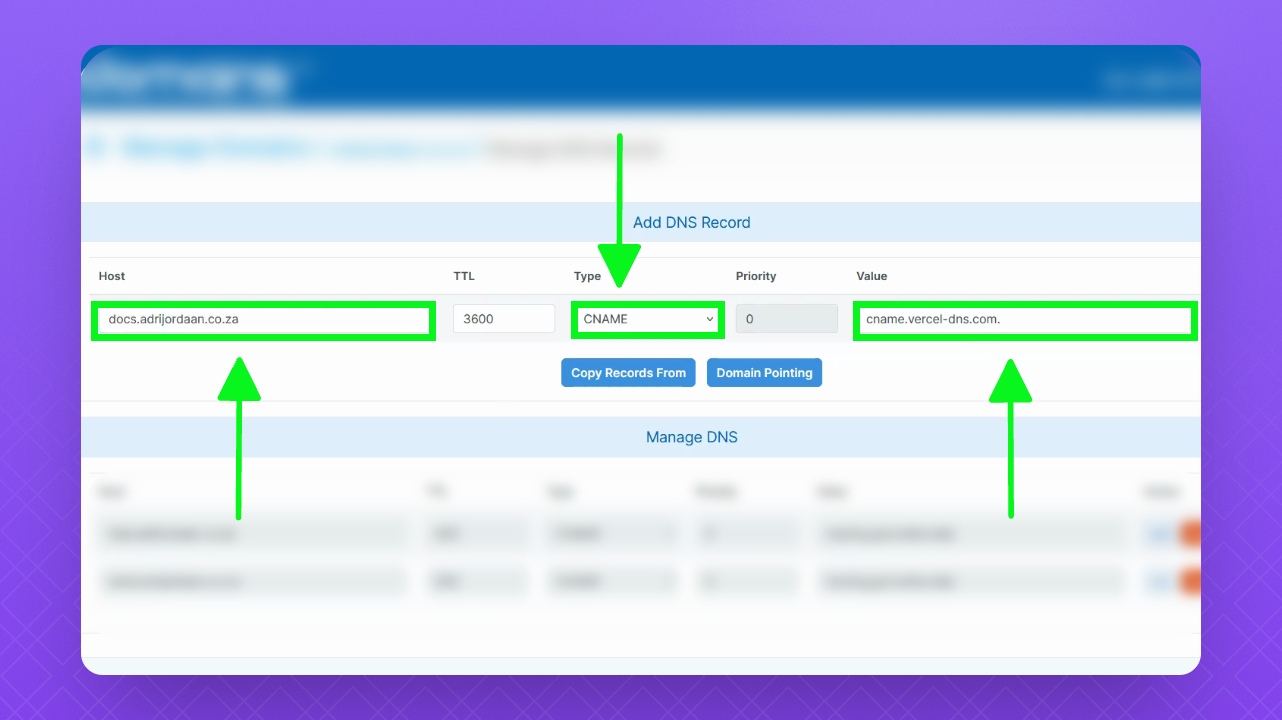
Check the DNS records provided by InstantDocs.
Copy and Add the InstantDocs CNAME value in the Value field within your DNS platform.
Change the Type to CNAME and add your subdomain in the Host field.
Save your changes and return to your InstantDocs domain settings.
Once verified, you will see a green check mark.
Return to the migration page.
Click Verify.
Then, select Done.
Step 6.2: Connect Your Groove Subdomain (Without Custom Domain)
1. If your Knowledge Base does not have a Custom Domain, the "Connect Your Domain" button will not appear. Only Custom Domains require reconnection using this button, while Groove subdomain KBs are added and redirected automatically.
2. Follow the remaining steps in the guide to finalize your migration.
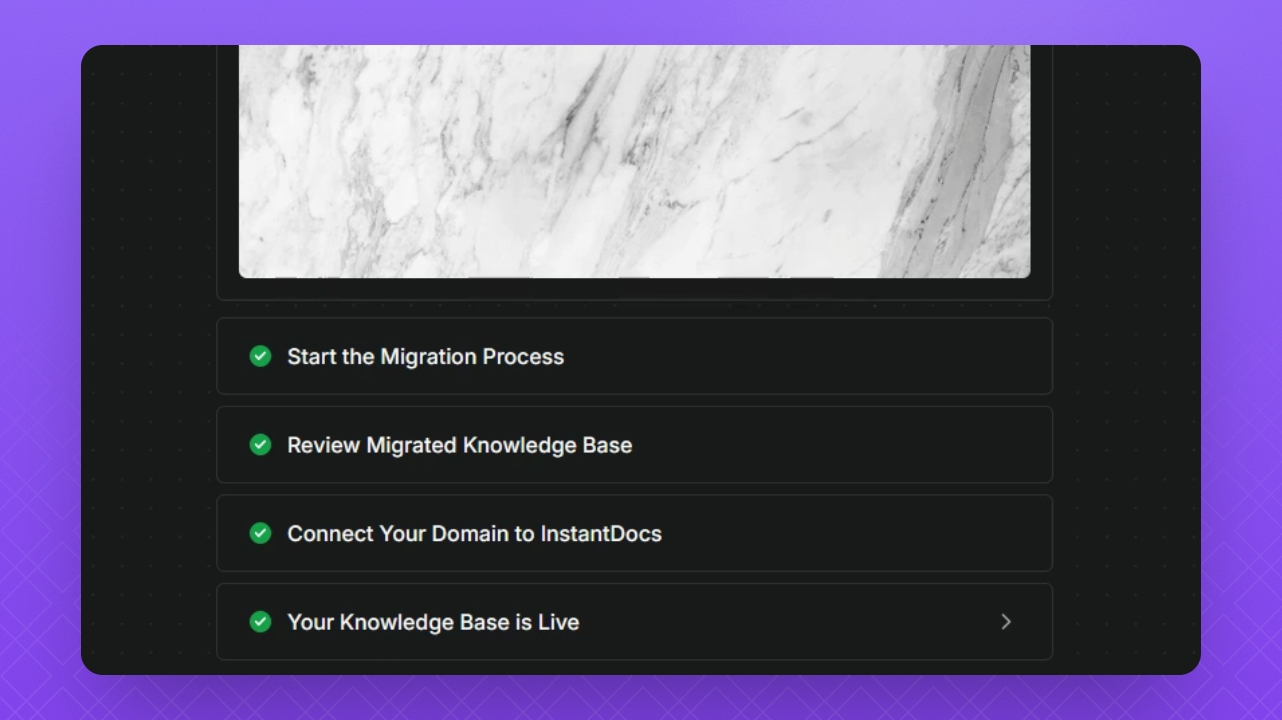
Step 7: Finalize the Migration
Click the "Finalize" button to finish the migration.
Your knowledge base is now live and ready to use in InstantDocs!