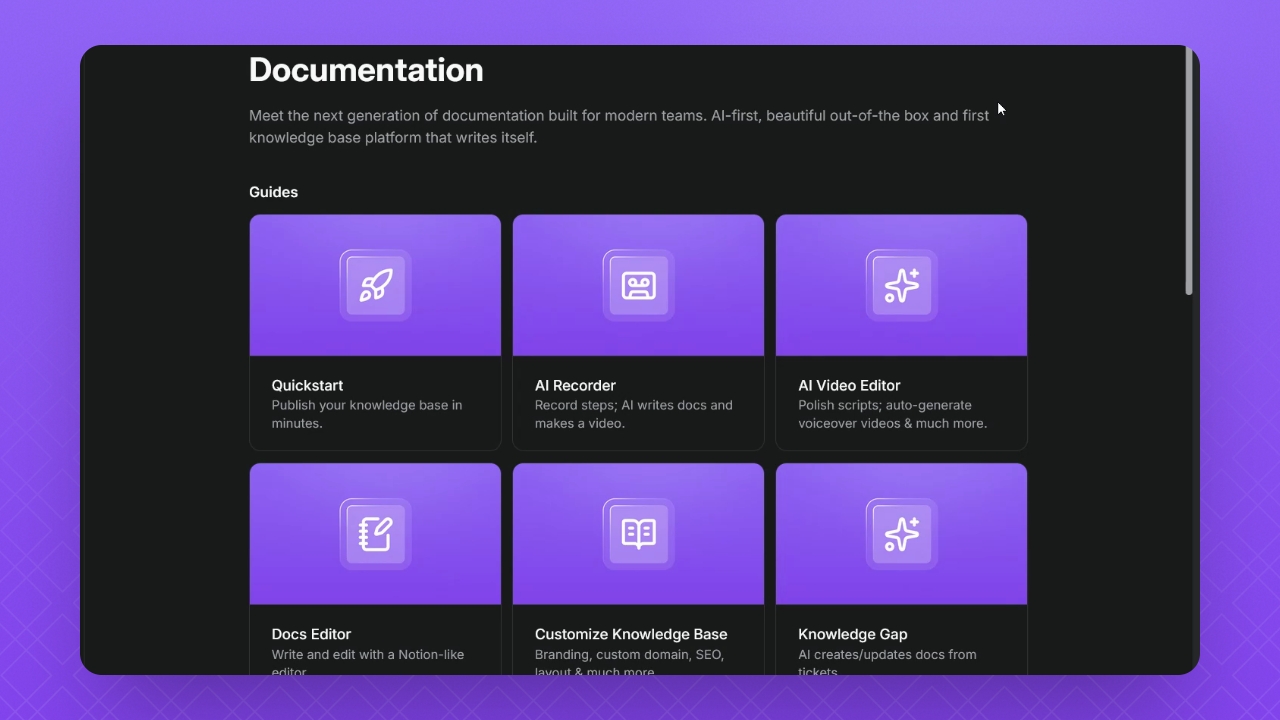
TL;DR
Let's Do It Together!
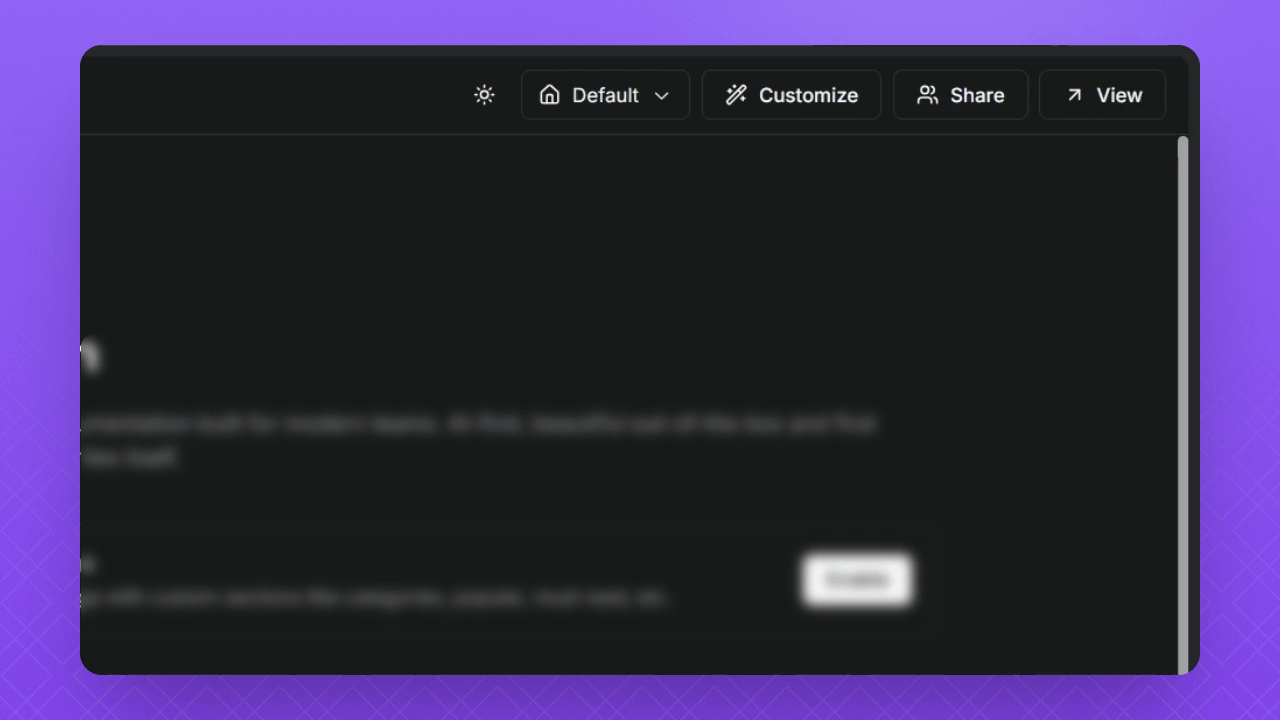
Step 1: Switch to Custom Homepage
Select your Knowledge Base.
Click the Homepage button in the top right corner.
Select Custom from the options.
You are now in the Custom Homepage layout.
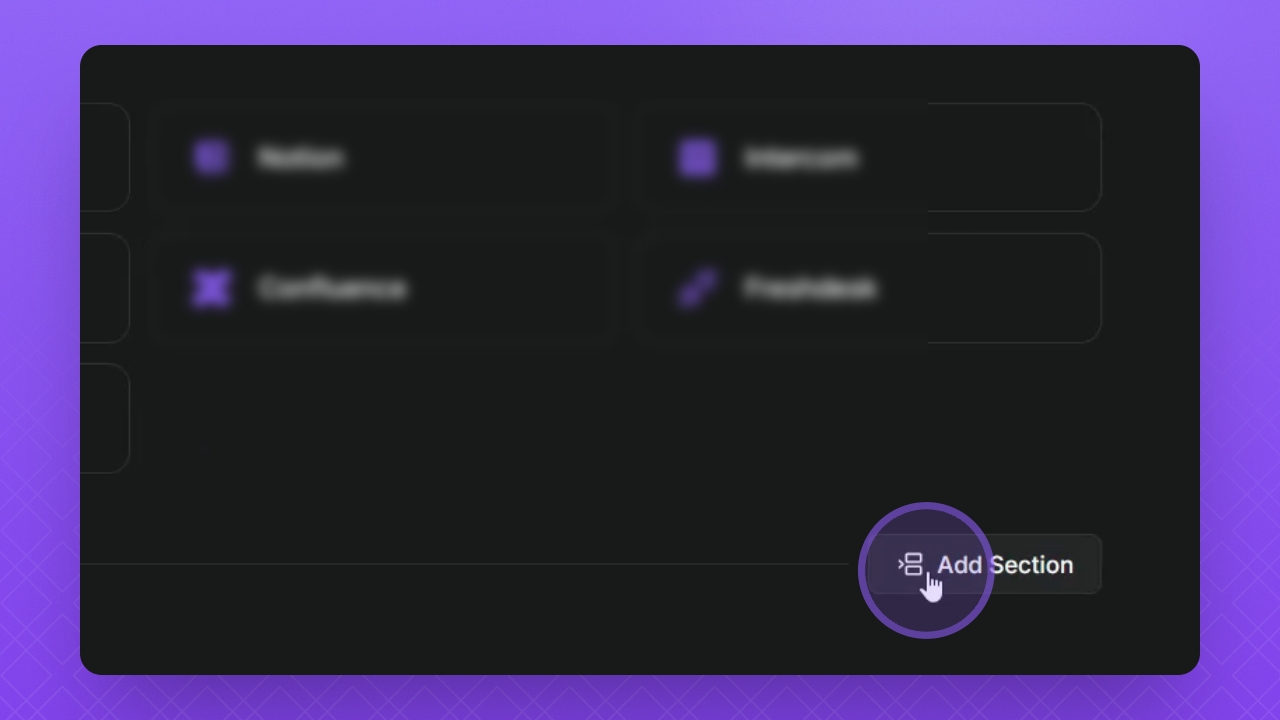
Step 2: Add a New Section
Click the Add Section button to start adding your cards.
Give your section a name.
Select the default card type and choose the number of columns for your section.
Your new section is created and ready for cards.
Step 3: Add Cards to Your Section
Click Add New Card to create a new card.
Click the three dots to start customizing the card.
Add a title and description for your card.
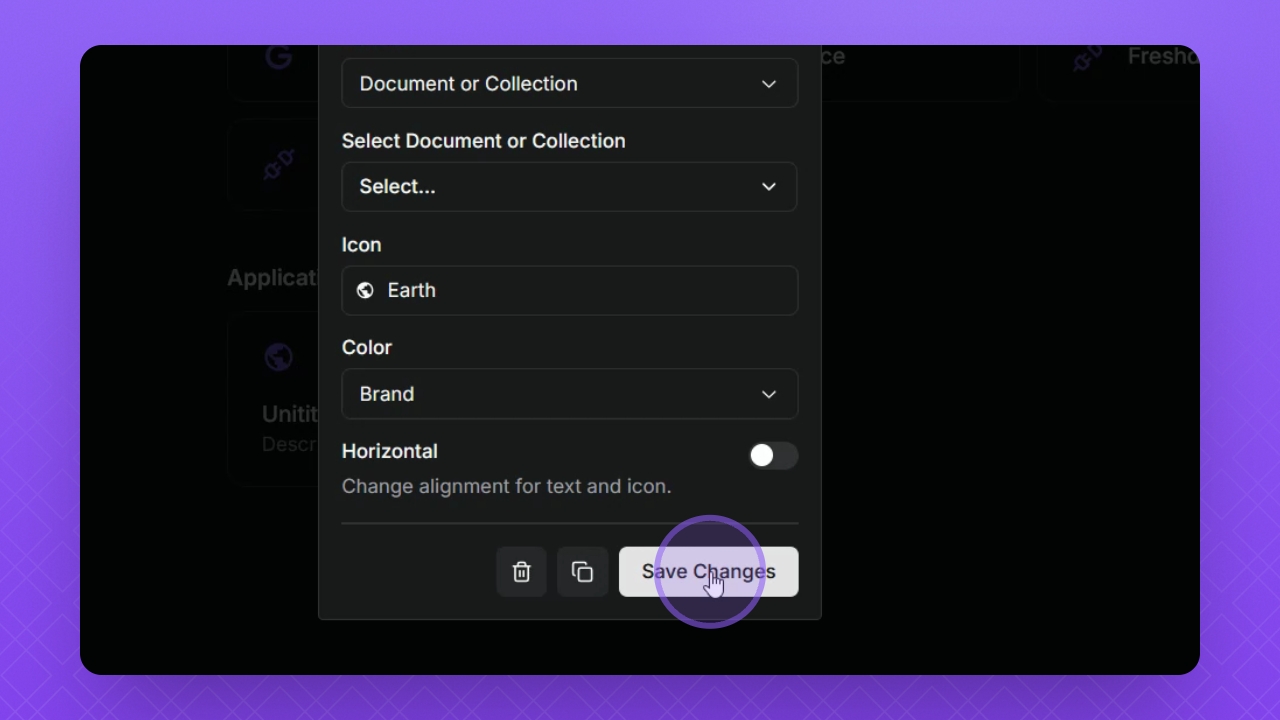
Link the card to existing docs or collections.
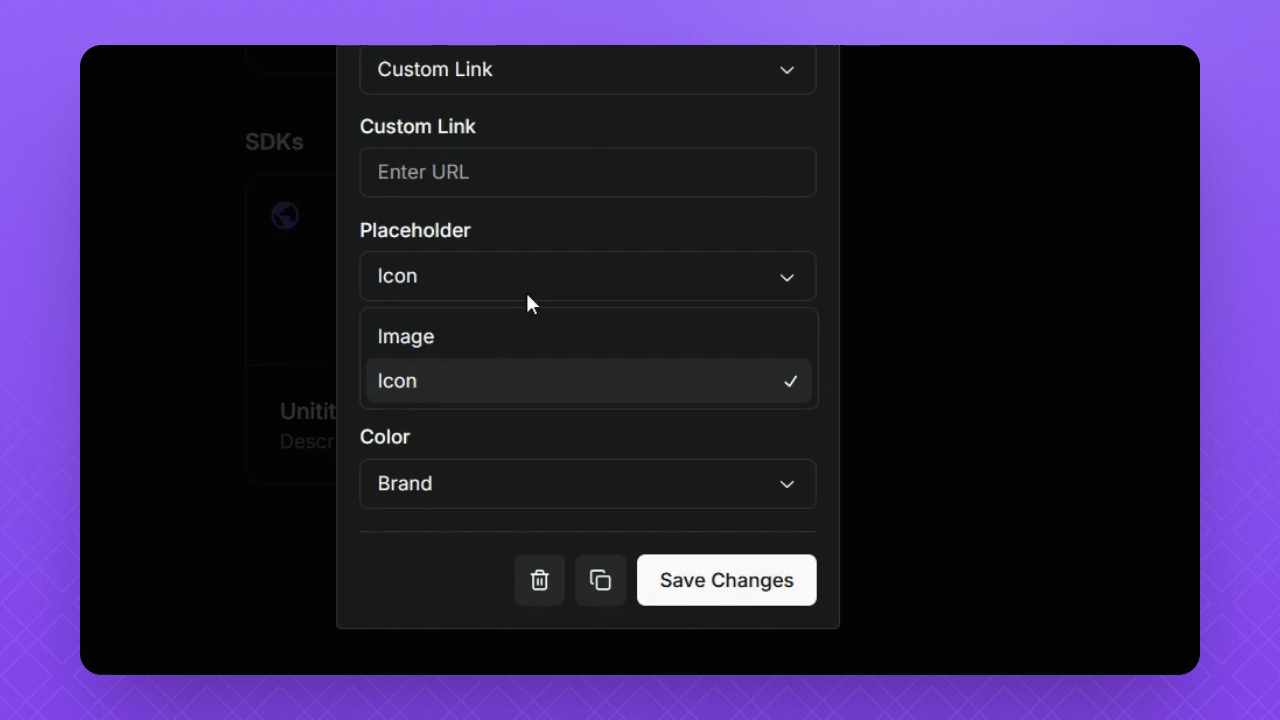
Add a custom link using the dropdown if needed.
Click the Icon button to add an icon.
Use the search bar to find icons and select your brand color or custom color.
Adjust text alignment using the horizontal toggle button.
Your card is customized and ready to use.

Step 4: Manage Your Cards
To duplicate your card, click the Duplicate button while in edit mode.
To delete, click the Trash button.
Click Save Changes to save your modifications.
To duplicate the entire section, click the pencil icon above the section and then click the Duplicate button.
If needed, delete it by clicking the Trash button in edit mode.
Your cards and sections are successfully managed.
Step 5: Add a Featured Card
Click the Add section button and select Card type, then choose Featured Card.
Follow the same process to add cards and edit as needed.
Add a custom image to your featured card by clicking the Placeholder icon and selecting Image.
Click Upload to add your own image.
Your featured card is now set up with a custom image.
Step 6: Finalize Changes
Click Save Changes to see the final result of your homepage.
Explore the Custom menu for more options.
Your custom homepage is now complete and ready for use.